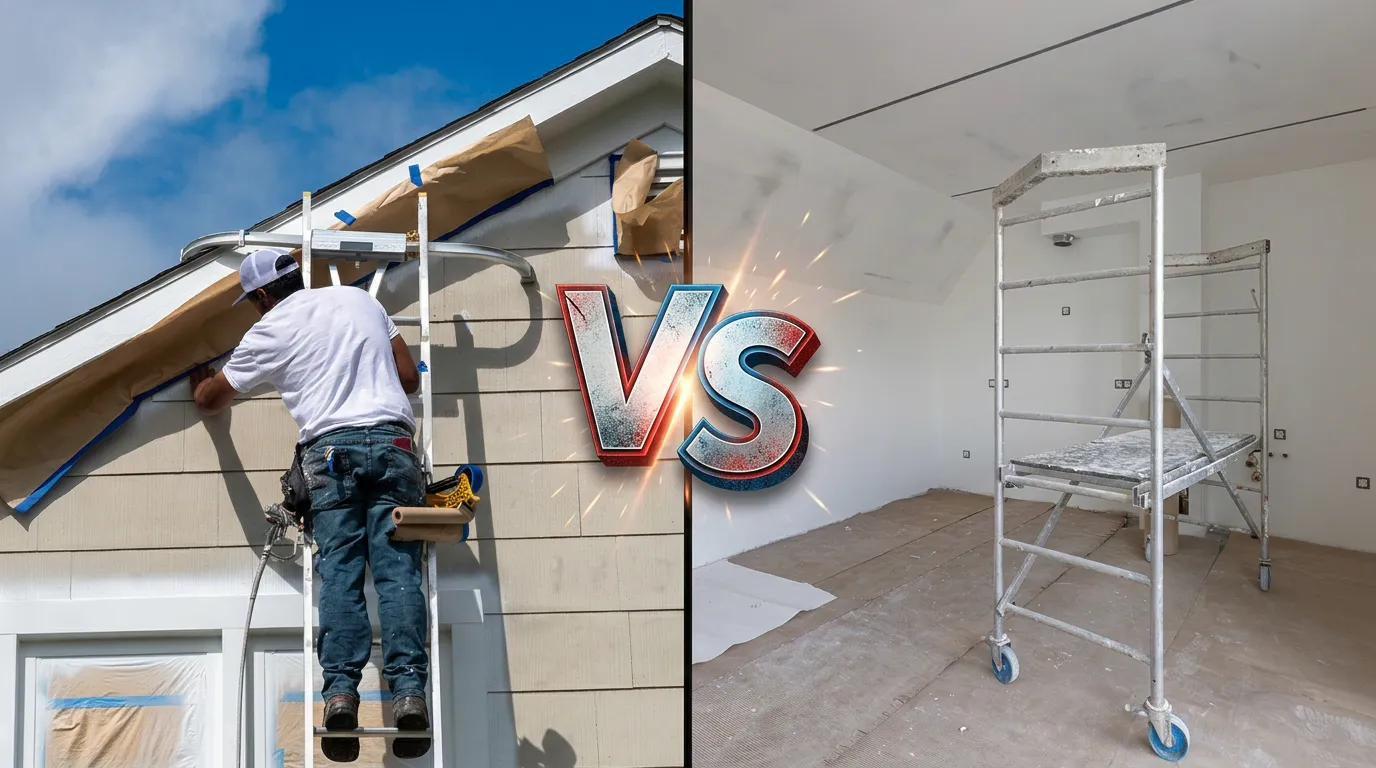
Most painting problems, such as peeling, blistering, uneven sheen, or visible patches, trace back to the work done before the first coat, not the paint itself.
Interior and exterior projects share that principle, but they differ in almost every practical detail: the surfaces involved, the products used, the timing, and what needs protecting.
- Surface preparation has more influence on durability than paint brand.
- Exterior paint is formulated for UV, moisture, and temperature swings.
- Follow the label for temperature, humidity, and recoat times.
- Homes built before 1978 need lead-safe practices when paint is disturbed.
Interior vs. Exterior Painting
Interior Painting
Focuses on drywall, plaster, trim, doors, and ceilings. The main concerns are smooth surfaces, washability in busy rooms, moisture in kitchens and bathrooms, and protecting furniture and floors indoors.
Exterior Painting
Covers siding, fascia, soffits, trim, and doors exposed to sun, rain, and heat. The main concerns are moisture in the substrate, failing caulk, weather timing, and protecting landscaping and hardscape.
Because exterior coatings must flex with temperature changes and resist ultraviolet light, they are formulated differently from interior paint.
Prepare Surfaces Before Painting
Paint needs a clean, sound, and dry surface to bond. Anything loose, dirty, glossy, or damp will compromise adhesion no matter how good the coating is.
Interior Prep Steps
- Clean grease and grime, especially in kitchens and around switches.
- Fill nail holes and dents, then sand patches flush.
- Repair cracks and damaged areas with proper drywall repair.
- Spot-prime patches and stains so they do not show through.
Exterior Prep Steps
- Wash surfaces and allow them to dry thoroughly.
- Scrape and sand loose or peeling paint.
- Replace soft or rotted wood before coating it.
- Recaulk open joints and prime bare wood.
Homes built before 1978 may contain lead-based paint. The EPA’s Renovation, Repair and Painting Rule requires lead-safe work practices by certified firms when paid work disturbs painted surfaces in these homes.
Choosing Paint and Sheen
Sheen affects both appearance and practicality. Higher-gloss finishes are generally easier to wipe clean but show surface imperfections more clearly; flatter finishes hide imperfections but can be harder to clean.
- Flat or matte: often used on ceilings and low-traffic walls.
- Eggshell or satin: common for living areas, bedrooms, and hallways.
- Semi-gloss: frequently chosen for trim, doors, kitchens, and bathrooms.
Primer Matters
New drywall, bare wood, stains, and dramatic color changes usually need a primer suited to the surface. Ask which primer is planned and why.
Test Colors in Place
Colors shift with natural light and artificial lighting. Sample larger swatches on several walls and look at them at different times of day.
Plan Around Weather and Moisture
Every paint product lists acceptable application conditions, including minimum and sometimes maximum temperatures, humidity limits, and drying and recoat times.
Moisture inside the structure is just as important. Paint applied over damp wood or drywall can blister or peel, so leaks around windows, roofs, or plumbing should be fixed before painting. If a ceiling stain came from a roof leak, our guide to roof repair versus replacement explains the first step.
Protect Your Home and Yard
- Move furniture to the center of rooms and cover it completely.
- Protect floors with drop cloths and tape off adjacent surfaces.
- Remove outlet covers and switch plates rather than painting around them.
- Outdoors, cover plants, walkways, outdoor lighting, and HVAC equipment.
- Plan ventilation for indoor work and keep children and pets away from wet surfaces.
Common Painting Mistakes
- Painting over peeling paint without scraping and sanding.
- Skipping primer on patches, stains, or bare surfaces.
- Covering water stains without fixing the leak that caused them.
- Applying paint outside the temperature or humidity range on the label.
- Recoating before the previous coat has dried as directed.
After the project, keep leftover paint labeled by room for touch-ups, clean painted surfaces gently, and inspect exterior caulk and trim periodically so small failures are addressed early. To plan your project, visit our interior and exterior painting services page or request an estimate.
Frequently Asked Questions
Painting is commonly done before new flooring is installed so drips and spills do not damage finished floors.
Each product lists its acceptable temperature range and conditions. Hot surfaces and direct sun can cause paint to dry too quickly, so scheduling and sequencing around the label instructions is important.
Peeling usually points to poor adhesion from dirt, gloss, or loose paint beneath, or to moisture in the surface.
Related Home Improvement Guides
Drywall Repair vs. Replacement
An assessment guide for damaged drywall: reading cracks and holes, handling water damage correctly, deciding between patching and replacement, and finishing walls for paint.
Planning a Home Remodel in Dallas
A practical planning roadmap for Dallas homeowners: set clear goals, define the scope, build a realistic budget, sequence the work, and prepare your home before remodeling begins.